voor de nederlandse lezers

voor de lezer's die artikelen in het nederlands willen lezen. vraag onder het gewenste artikel naar de nederlandse versie in een comentaarberichtje.

vrijdag 24 juli 2009

Is that a breakdancing GM ??

Looks like my group-build project GM started breakdancing after i gave him the first layer of paint. As you can see he's completly black. This is because i want to try preshading on the little fellow. I also made only one photo so you wont see all the changes i made. The modding was not to hard to do because i did a simple job on it.
I'm not sure when the second layer will be on so stay tuned !

zaterdag 18 juli 2009

Typical dutch weather.

Well today is a typical dutch day, lots of anoying rain. Im testing my airbrush on the group-build project. Found out that working with an airbrush wil take lots of practice. But then something turned out really good today.

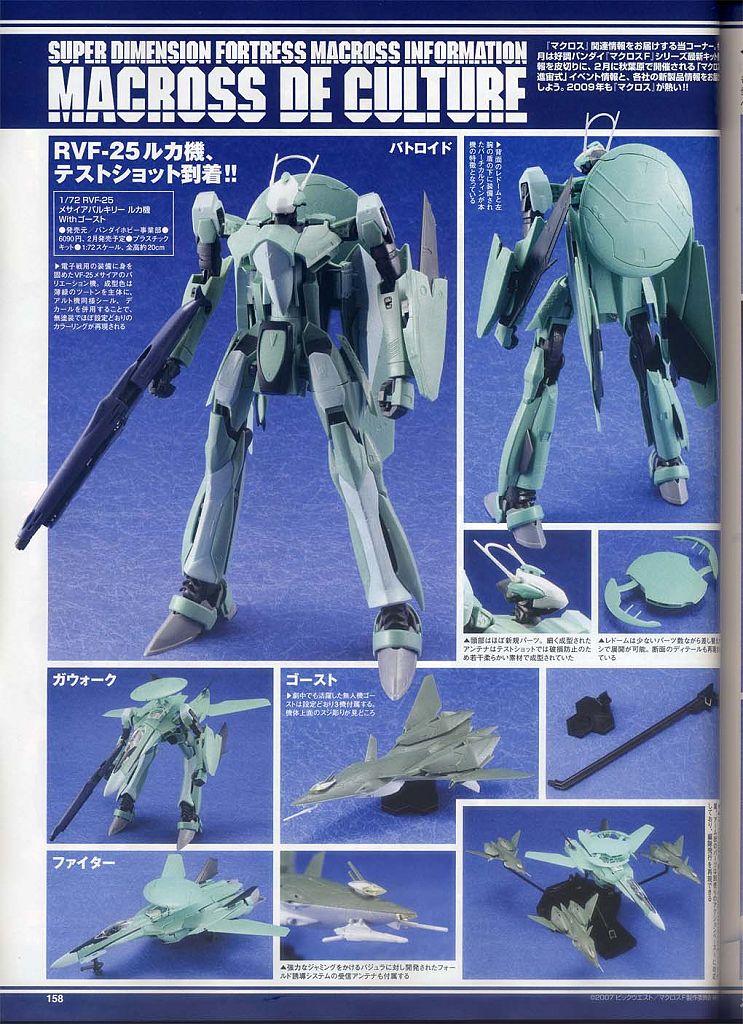
My main model seller from Morgenroete Inc. told me he had a summersale going on, and he had a good offer on the macross model i had an eye on(we also talked about it yesterday in the evening). well i could not refuse the great offer and jumped in the car to get the kit. the total package contains the following kits :
- rvf-25 luca custom 1/72
- vf-25 super parts 1/72
- macross base

his summer sale continues till 31-07-09
here is a picture of the model.


there will be more photo's of the model with parts when completed(if the readers dont mind since it aint gundam related).

and since it not gundam related check the new poll and give it straight answer.

dinsdag 14 juli 2009

Finally finished

So here it is still wet from the paint (MG zeta is standing on a piece of plastic to keep it nice and clean).
Well as you can see its pretty big, the MG zeta inside is to give you an idea of the size.
enjoy the pictures and i hope it will give sme of you an idea how to build it (or not lol)


I used matt white paint from a store called Praxis, it was there on paint (the cheapest one) and clear filler for the edges of the plexiglas.


All with all it was nice to build, i had a lot of help from my brother (thanks).
And the total kost was about 80-90 euro, it could be cheaper.
i bought the plexiglas called lexaan wich is many times stronger than glass and the stuff is pretty expensive.
the plexiglas that i was looking for was not for sale in the correct thicknes.
i hoped you enjoyd following this tiny project.

zondag 12 juli 2009

Almost done.

So here are the well promest photo's of my airbrush cabine.
In my opinion it looks really good, it ain't small but i have enough space in it to work on my models with the airbrush. I need to paint the complete cabine to make it look at its best. The cabine is going to be white on the inside and outside. And maybe when im more handy with the airbrush, i will make a drawing with my airbrush on the outside of the cabine. But thats only if im more capable of using the airbrush.


Well here are some nice fresh photo's just made :


This is a photo taken from the front i used pretty much bit's and bolts to put it together. As you can see i did nt remove the protective foil from the plexiglas, i did this because om gonna paint the wood inside and outside. When im painting it the plexiglas will be protected by the foil. When it will be operational i will remove the foil.


Here you can see the side. I drilled more holes in the metal than needed so there are some holes left. The metal is 6 cm wide 1 mm thick and 40 cm high. The metal will also be painted so it wont rust. (my airbrush paint is water based).


Here you can see the backside of the cabine. I made a tiny hole above the fan for the electricity wire.


I made a detailed photo of the bottom side. You can see a bolt with a round head put upside down. This functions as a feet that doesnt damage the surface under the cabine.


And last but not least a close up of the fan. You can see the cable going to the outside (the cable has an on/off switch). The 2 bolts wich are visible in the front are to be taken off, then you can put a filter behind it and put the round plastic part against it. Put the 2 bolts on it and tighten them and the cabine is ready for use.


Well this is it for so much. I will paint it and put some clear silicon filler on the edges of the plexiglas, after thats done i will make a photo with a MG gundam in it so you can see the actual size of it. For more details please ask.

vrijdag 10 juli 2009

airbrush filtercabine

Its almost done, i will finish it this weekend. there 4 things left to do.
and these are the 4 things :
-Put 2 little bolts under the bottom for standing.
-Mount the plexiglas.
-Make the edges in the inside airtight.
-Mount a filter in front of the fan.

If this is finished i will continu on my GM group-build project.
When the cabine is finished i will make some photo's of it.